


What I've learned about product photography in the 20 years I've been selling my handcrafted products online.
|
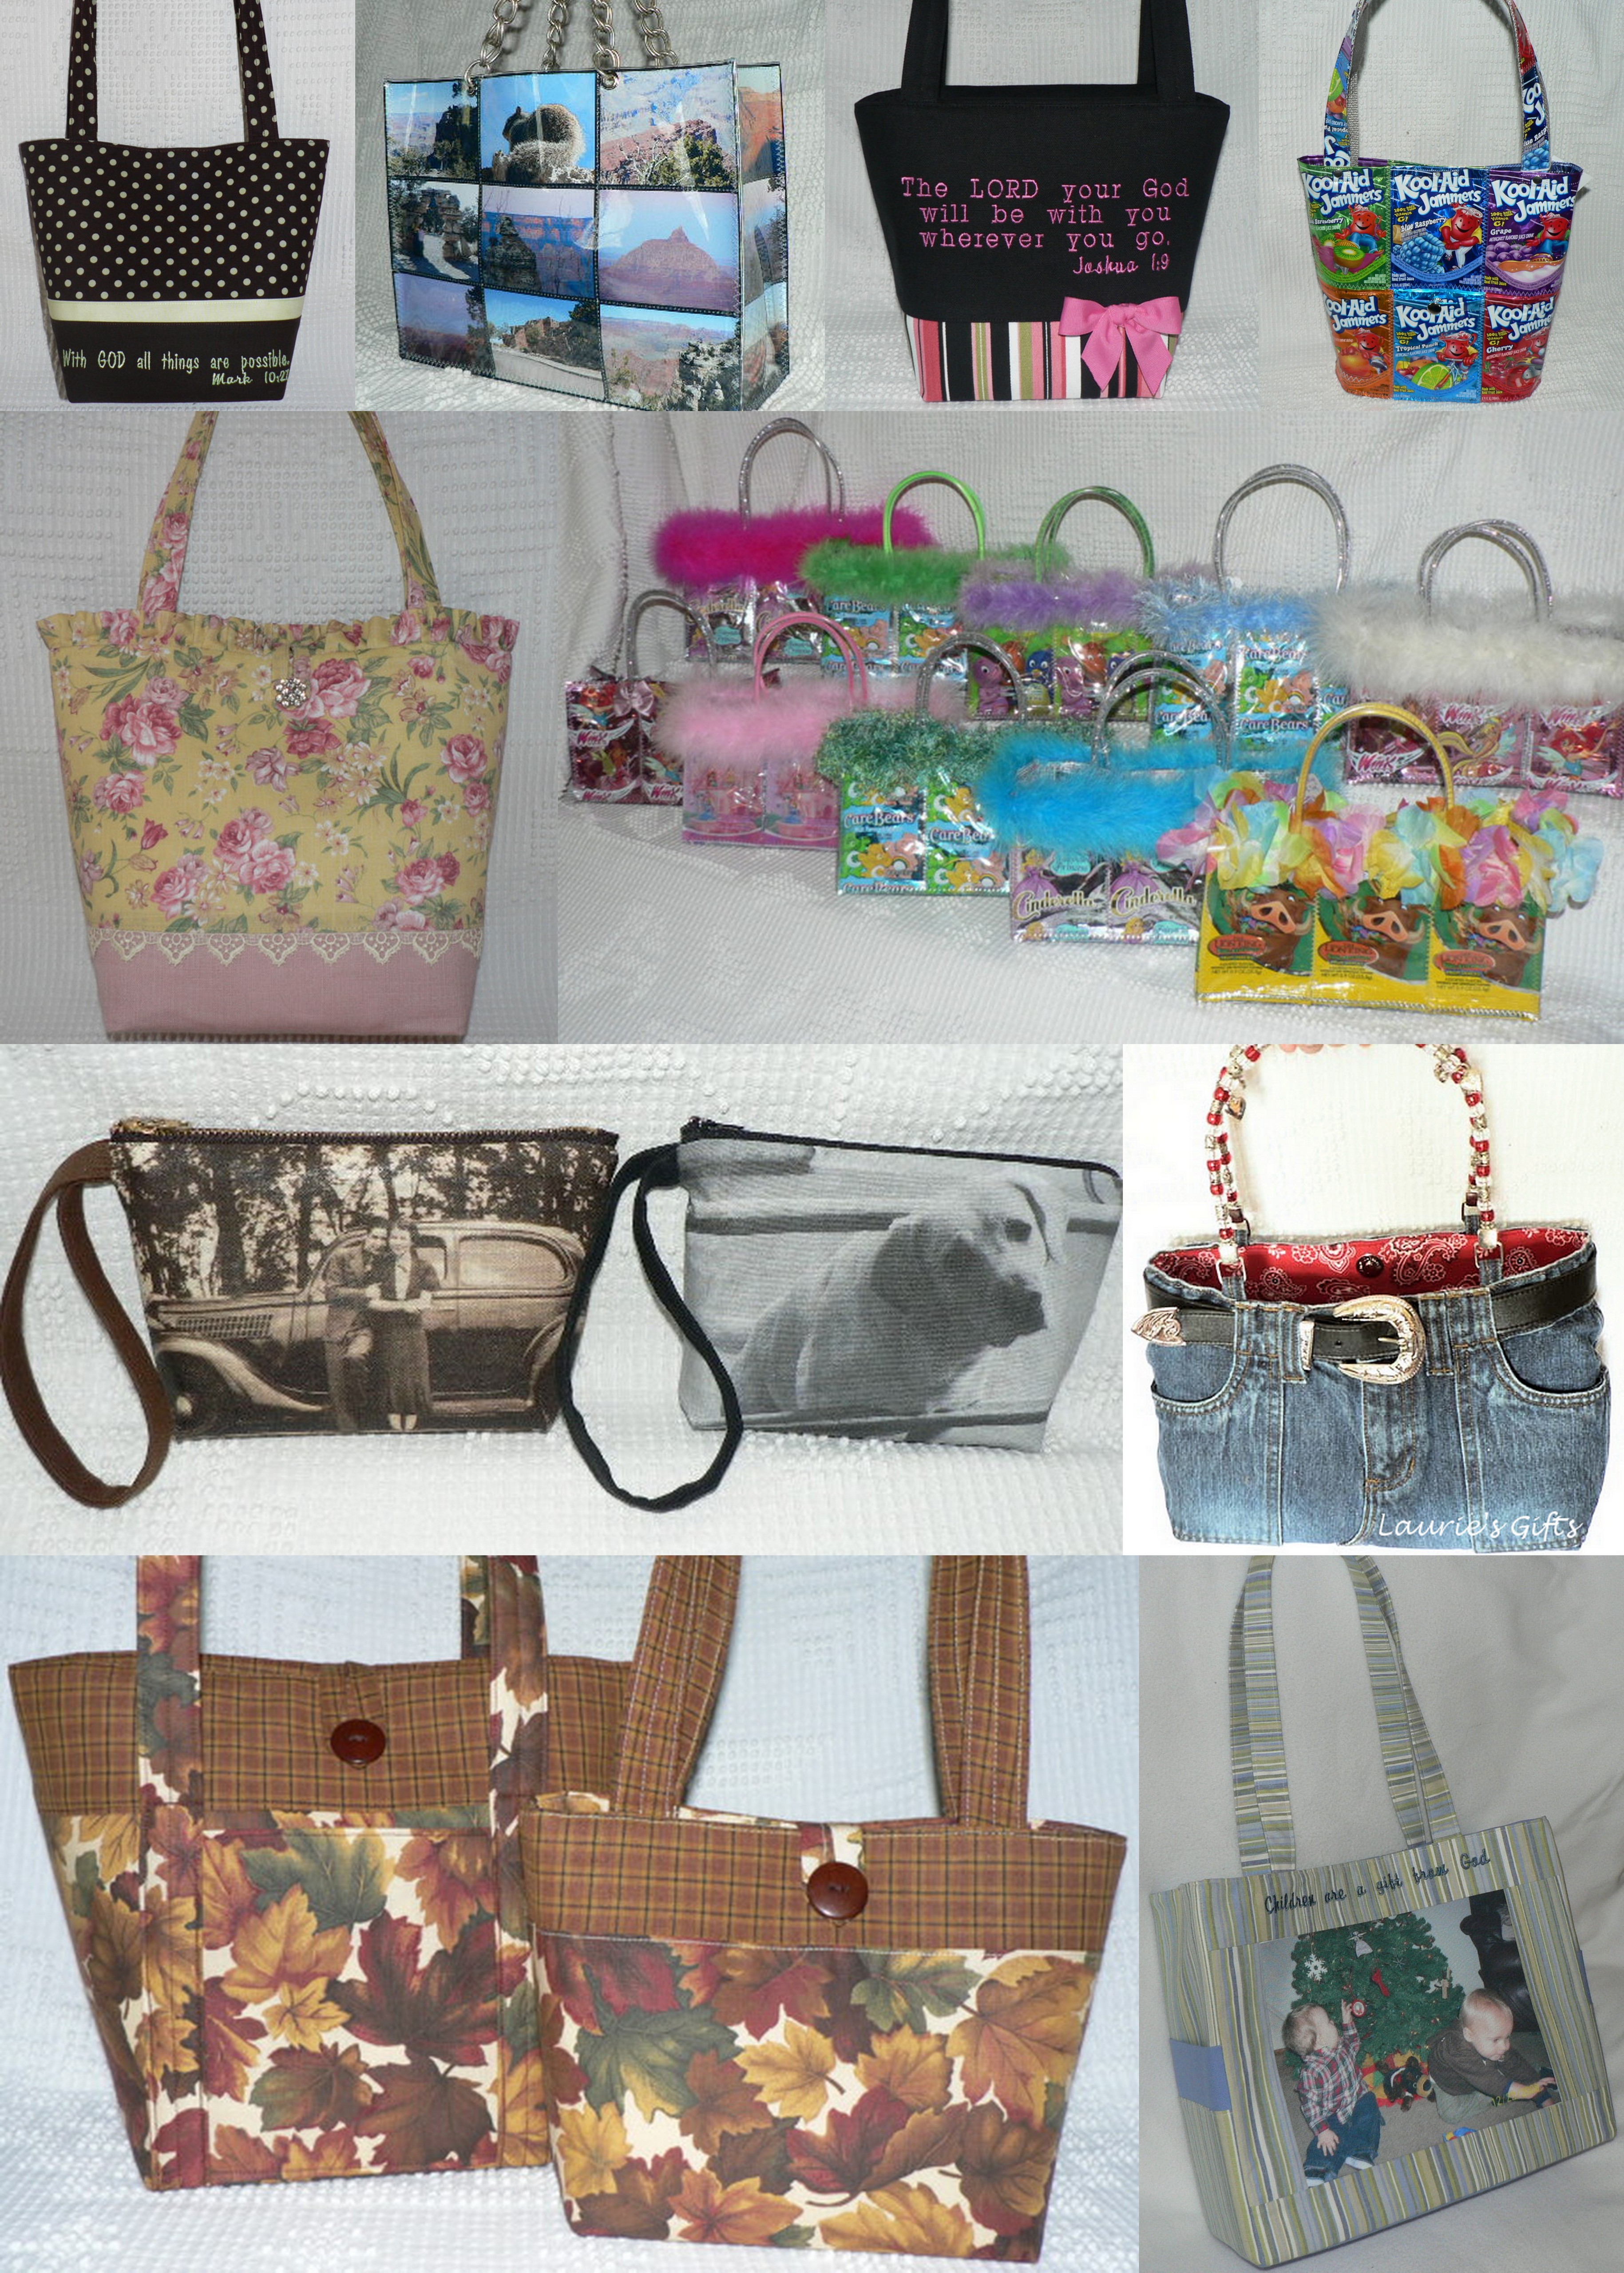 |
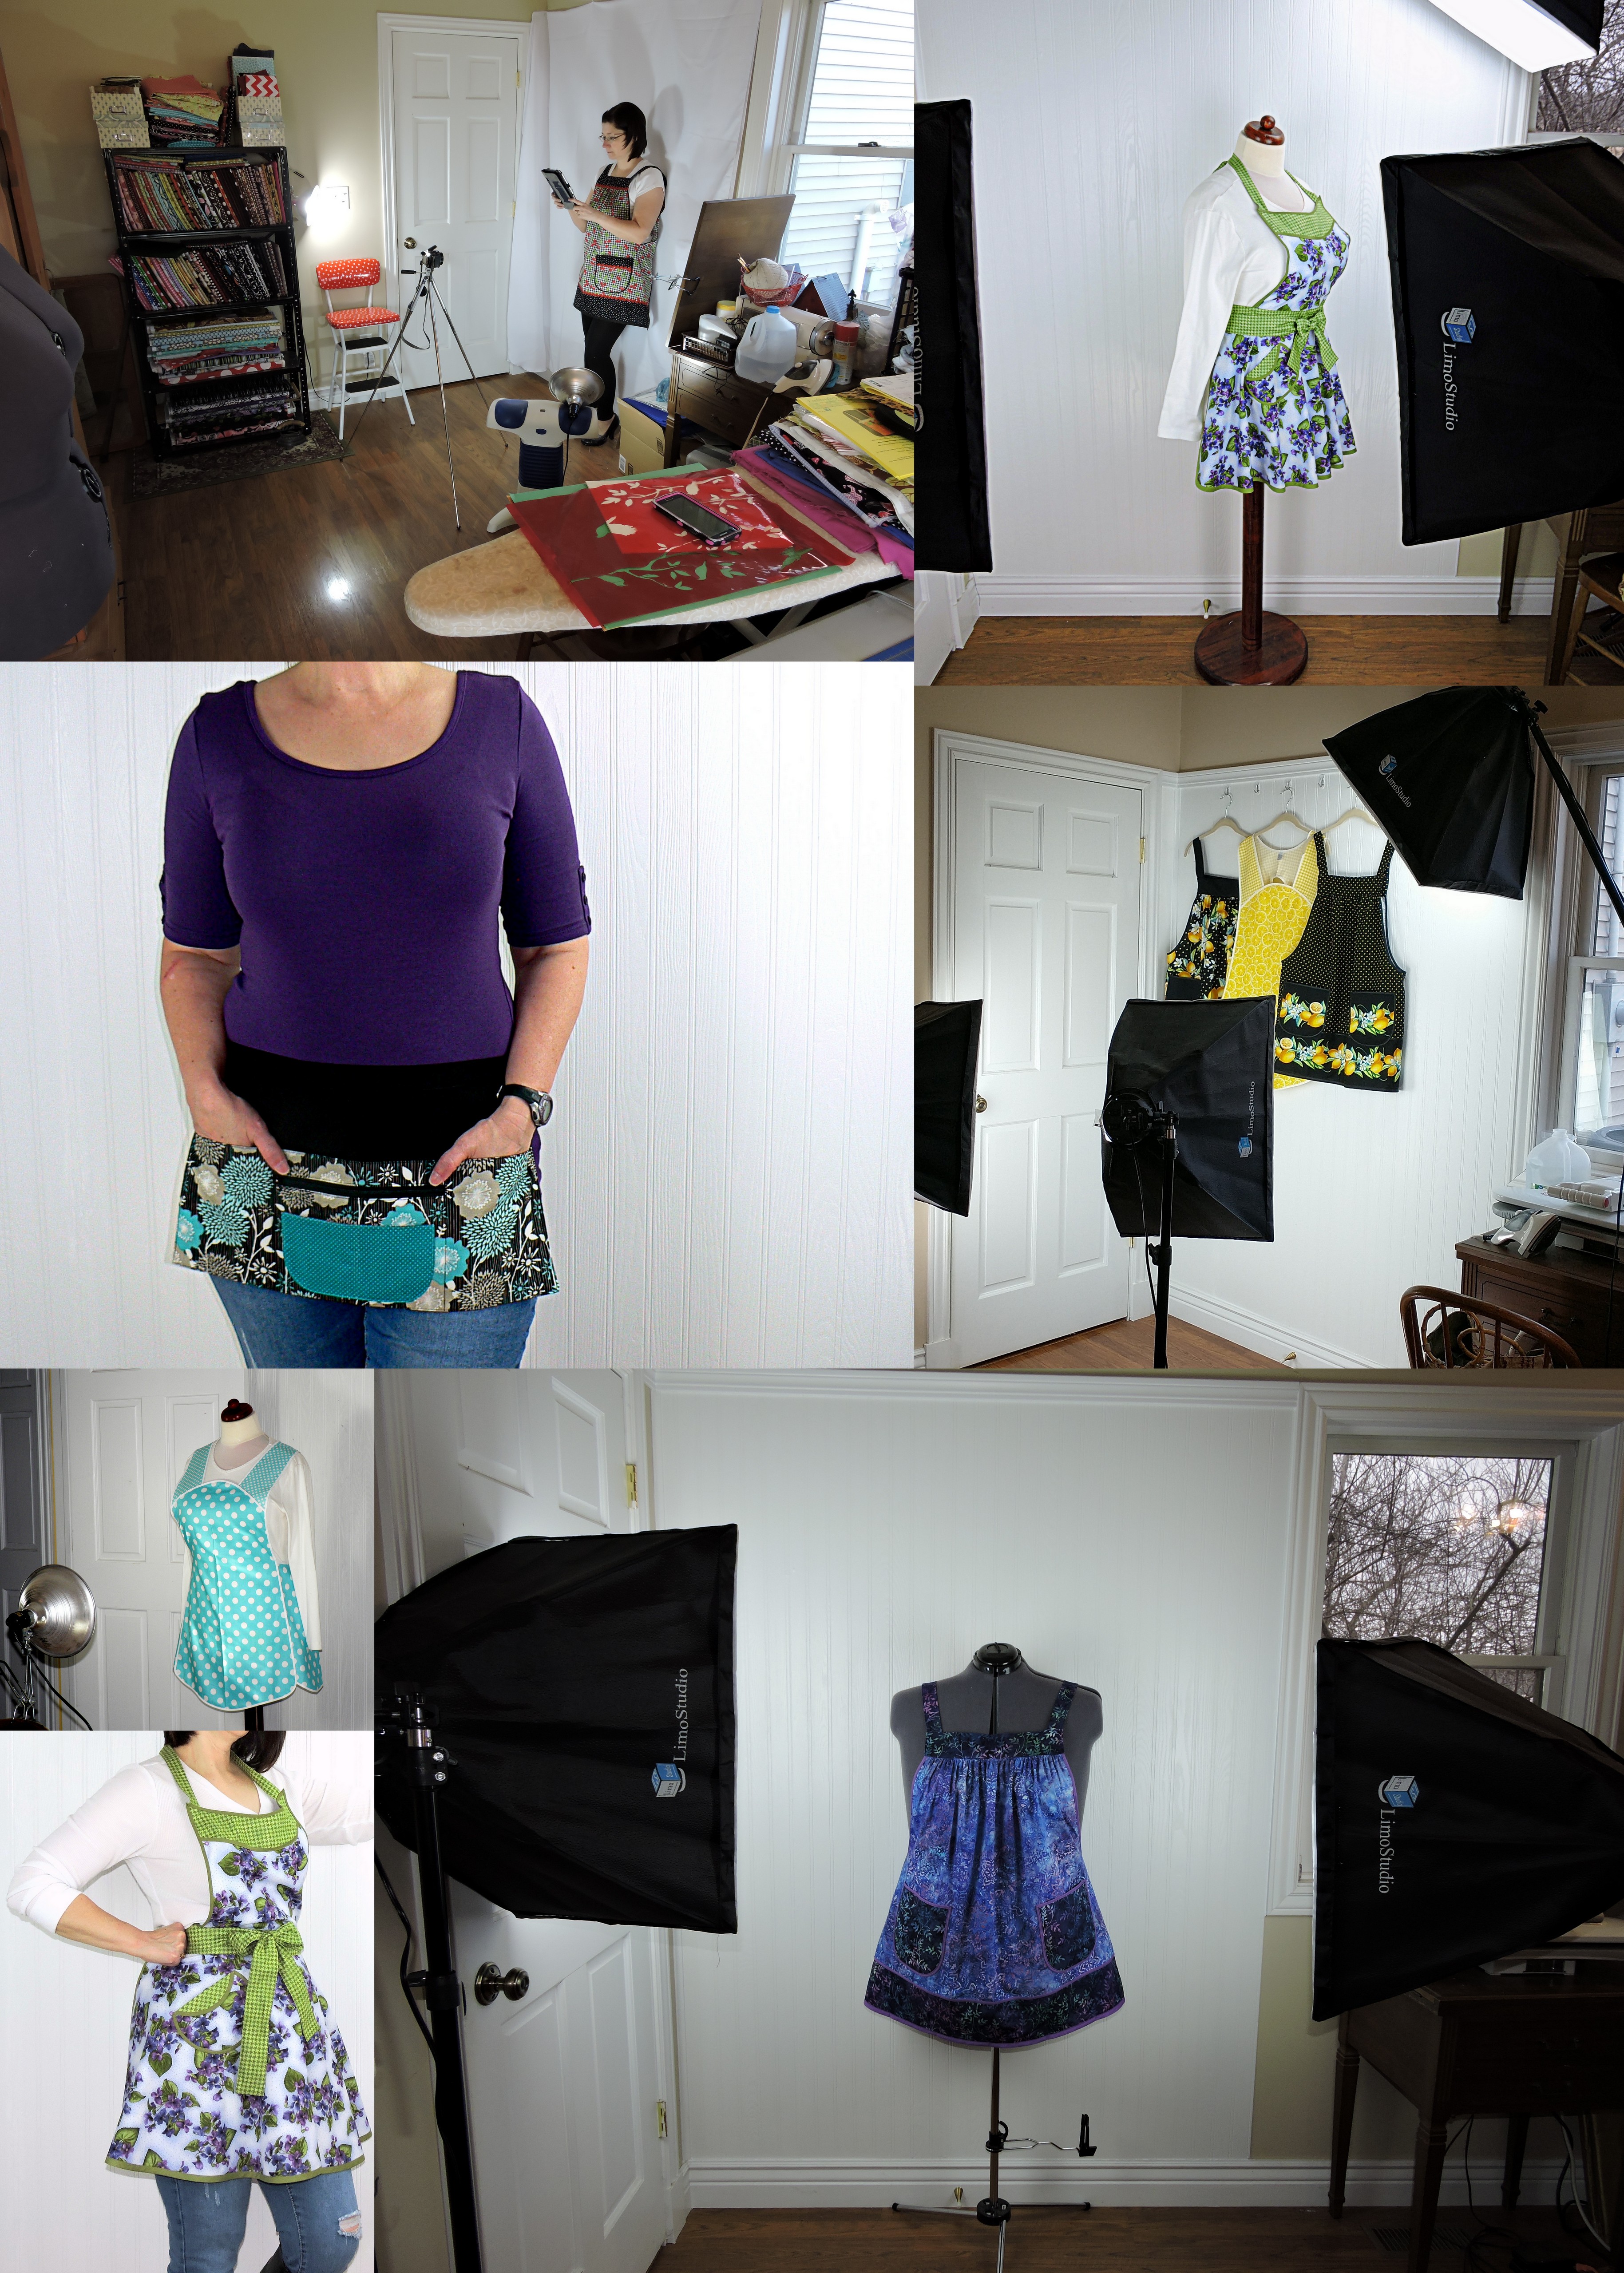
WORK WITH WHAT YOU'VE GOTI've never been a good photographer; it's just not a natural talent of mine. When I started creating my first website in June 2005, I didn't even own a digital camera or cellphone. All I knew was that I needed photos to create a website, so I decided to use whatever I could find to accomplish the task. The first photos I uploaded to my website were taken with my 35mm camera. I would scan the printed images to get them onto my computer to upload onto my website. Although it was not an ideal setup, it worked for a while since my inventory was limited at that time. At first, I was only making and photographing purses, so I simply positioned the purses on my couch and took pictures. I used "flat lay" techniques to show them off to their best advantage. Later, I occasionally borrowed my sister's digital camera, which was a significant improvement! I finally purchased my own digital camera at the beginning of 2006, and everything took off from there. My biggest challenge has been getting the camera to capture what my eyes see, and I still struggle with that occasionally, even after 20 years of practice! |
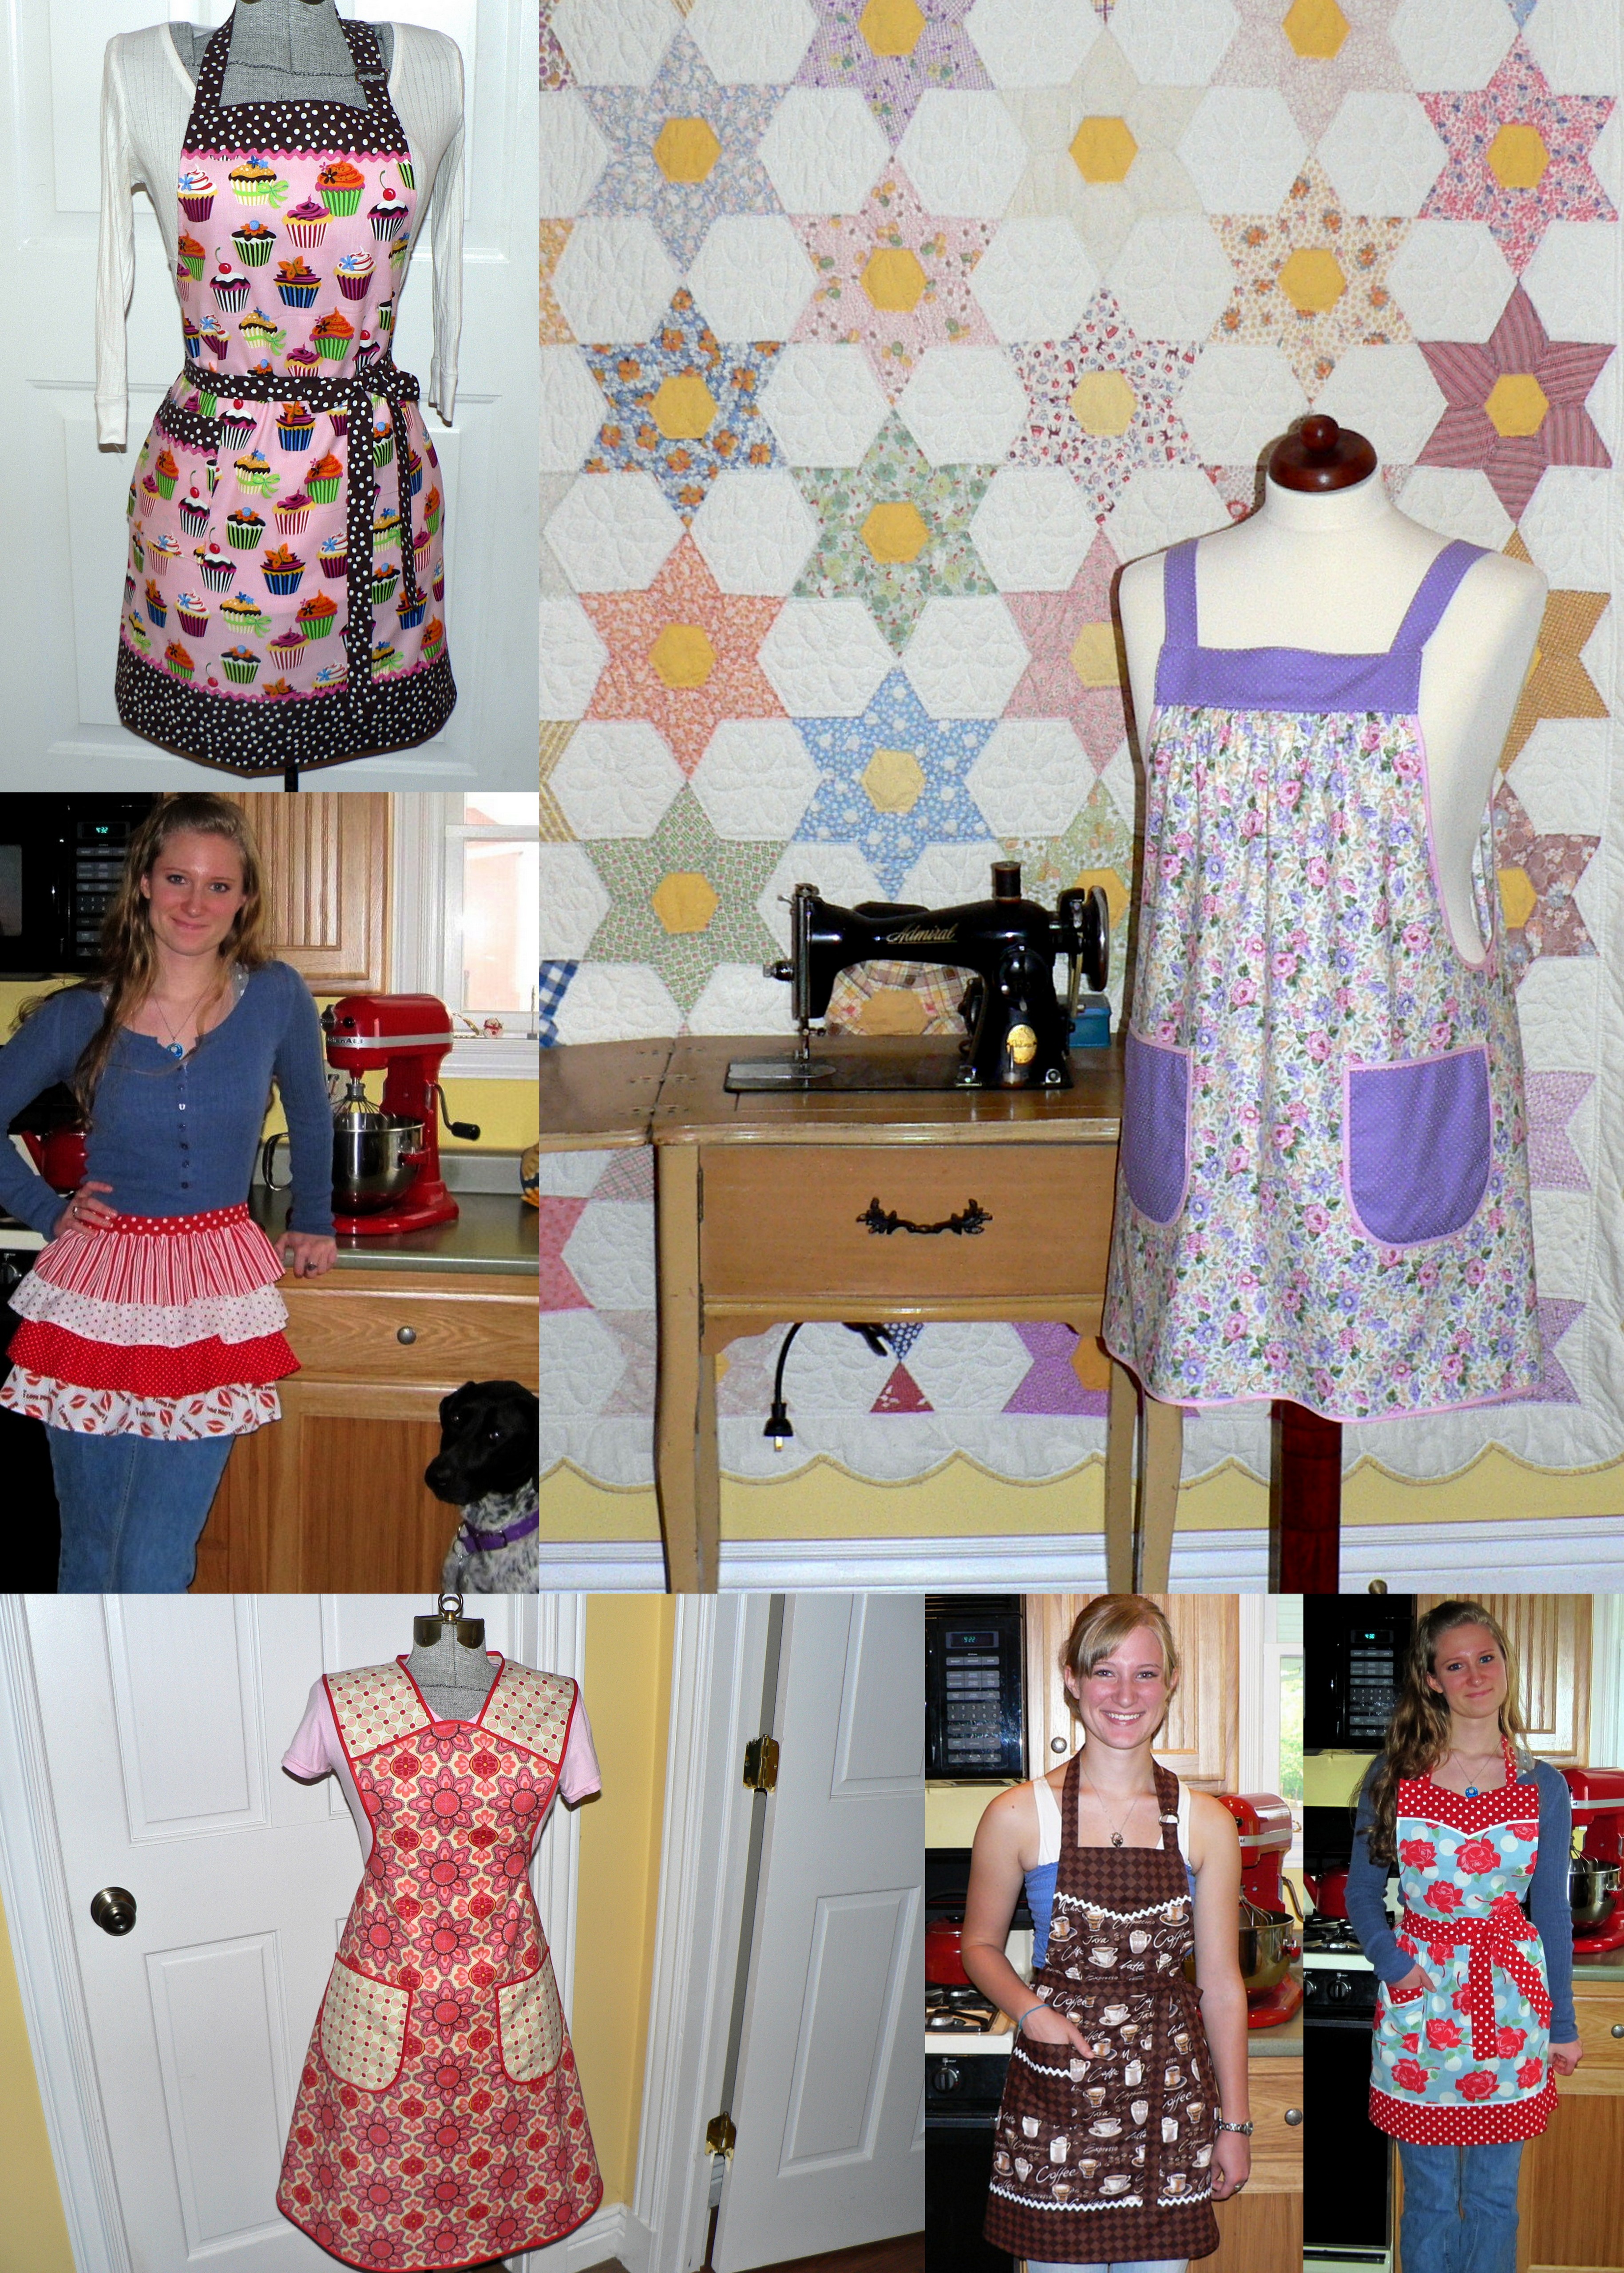
LEARN AS YOU GOWhen I was taking photos for my original website (pre-Etsy era), I didn't know much about product photography. I mostly focused on capturing sharp, clear images with colors that were as true to life as possible. I often took these photos in my kitchen, where I thought the lighting was good enough. My backgrounds varied; I would either use a plain door as a backdrop, the antique quilt that hangs in my kitchen, or even stage a pose by the stove for a "lifestyle shot." This often required taking a large number of photos just to get a handful of usable shots. At that time, my youngest daughter was still at home, and occasionally I managed to convince her to pose for a photo or two. Those were the days! I did a lot of reading during that period to learn how to run an online business, particularly focusing on branding and product photography. It was an overwhelming amount of information to digest. However, I learned little by little and eventually identified some of my biggest challenges in product photography. |
|
|
|
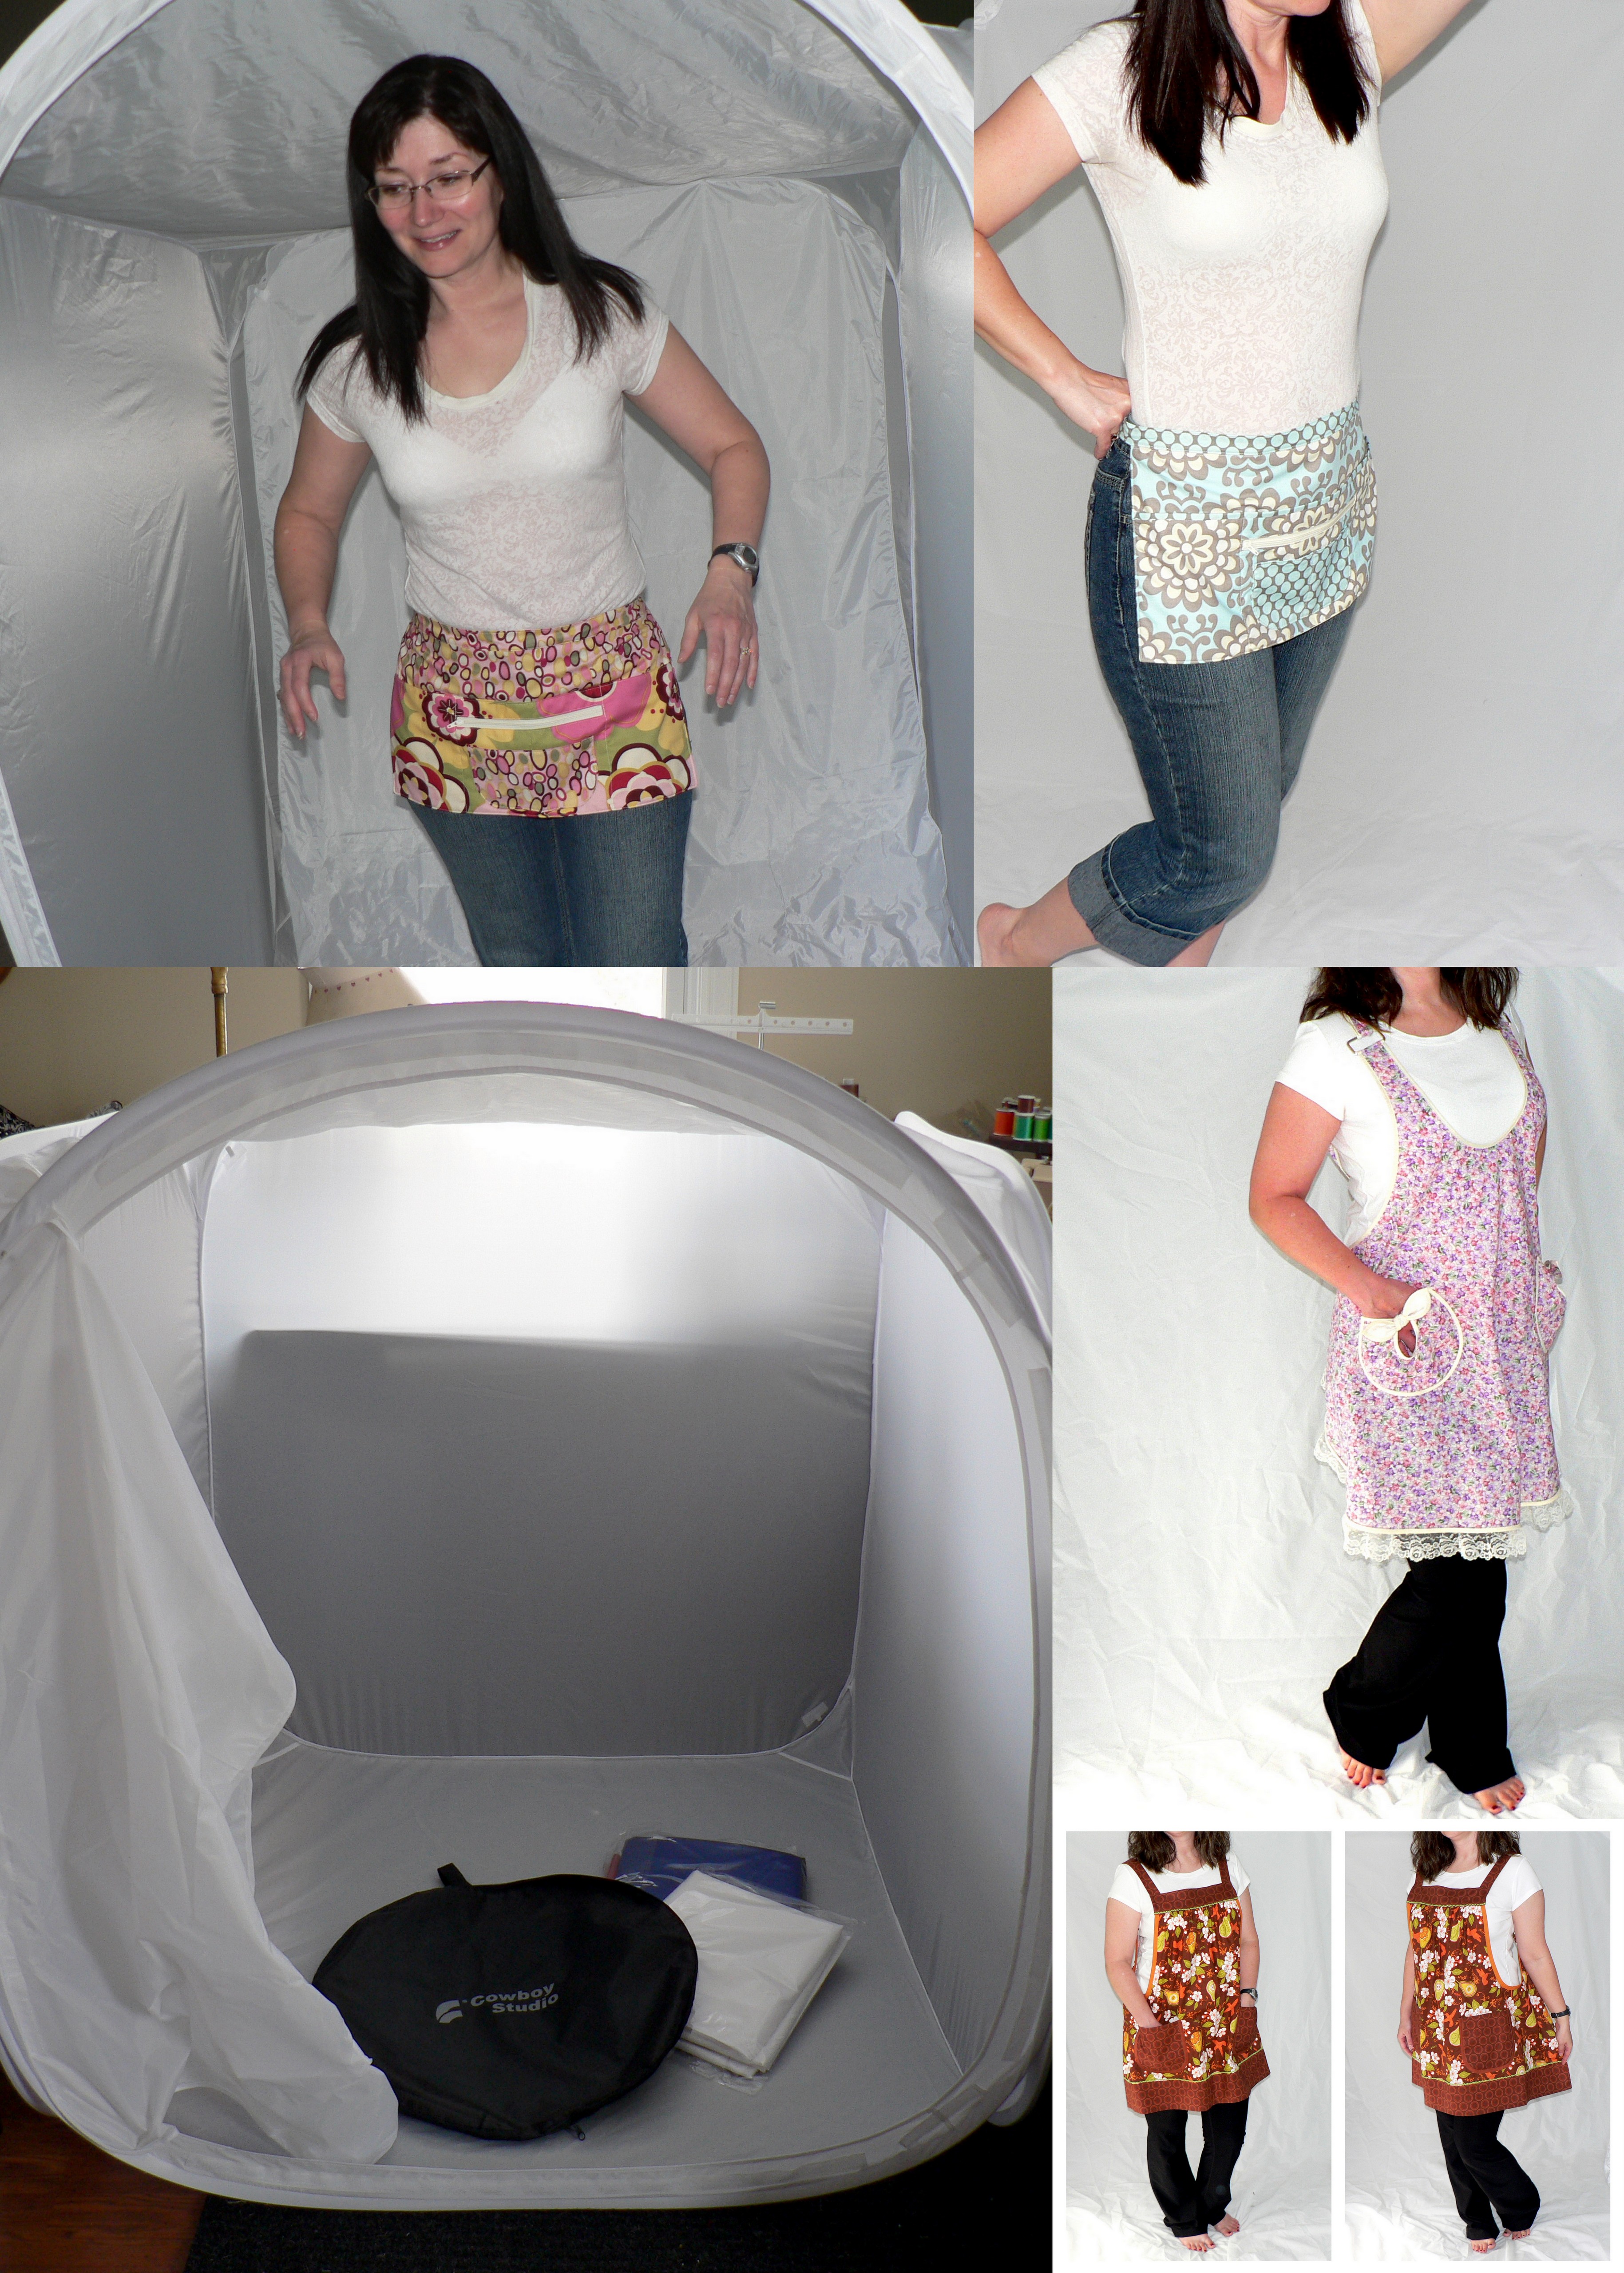
MAKE IMPROVEMENTS GRADUALLYWhen I opened my shop on Etsy in April 2011, I quickly discovered why their algorithm favored plain white backgrounds for product listings. A cluttered photo makes it difficult for the product to stand out. While I loved the aesthetic of using my grandma's quilt as a backdrop, it often overshadowed the apron in the shot. At the beginning of 2012, I decided to invest in the largest lightbox tent I could find, which was a 60-inch cube. However, it turned out to be a tight fit (height-wise) for my dress forms. (Even more so for me--I'm 5'5" tall. I found myself either crouching in photos or using one hand to push up on the top of the lightbox just to stand up straight!) Although I purchased special photography lights to use with the lightbox, they were insufficient, and I often had to edit the photos extensively afterward. The lightbox folded up into a reasonably compact case, which I thought would be a great space saver. However, the effort required to set it up and pack it away repeatedly was exhausting. After four years using the lightbox, I knew it was time to find a better solution. |
INVEST IN A PROFESSIONAL SETUPIn 2016, my wonderful husband created a dedicated photography area in my sewing studio. We chose beadboard paneling for the photo backdrop. It is still all-white, but the texture in the paneling adds depth to the background of the photos, which I love. Since I struggled with inadequate lighting in my lightbox setup, I upgraded to a more professional solution: a three-piece softbox continuous lighting kit. This upgrade has significantly improved the lighting conditions, and while I still see room for improvement, the difference is remarkable. This new setup is much more convenient for me. There is no need for setup or teardown when I want to photograph new products. I can simply turn on the lights, place my camera on its tripod, drape an apron on the dress form, and take as many photos as I need for the listing. I am always eager to learn better methods, but for now, I am completely satisfied with this arrangement. While photography may never be my favorite activity, I no longer dread taking product photos. |
|
|
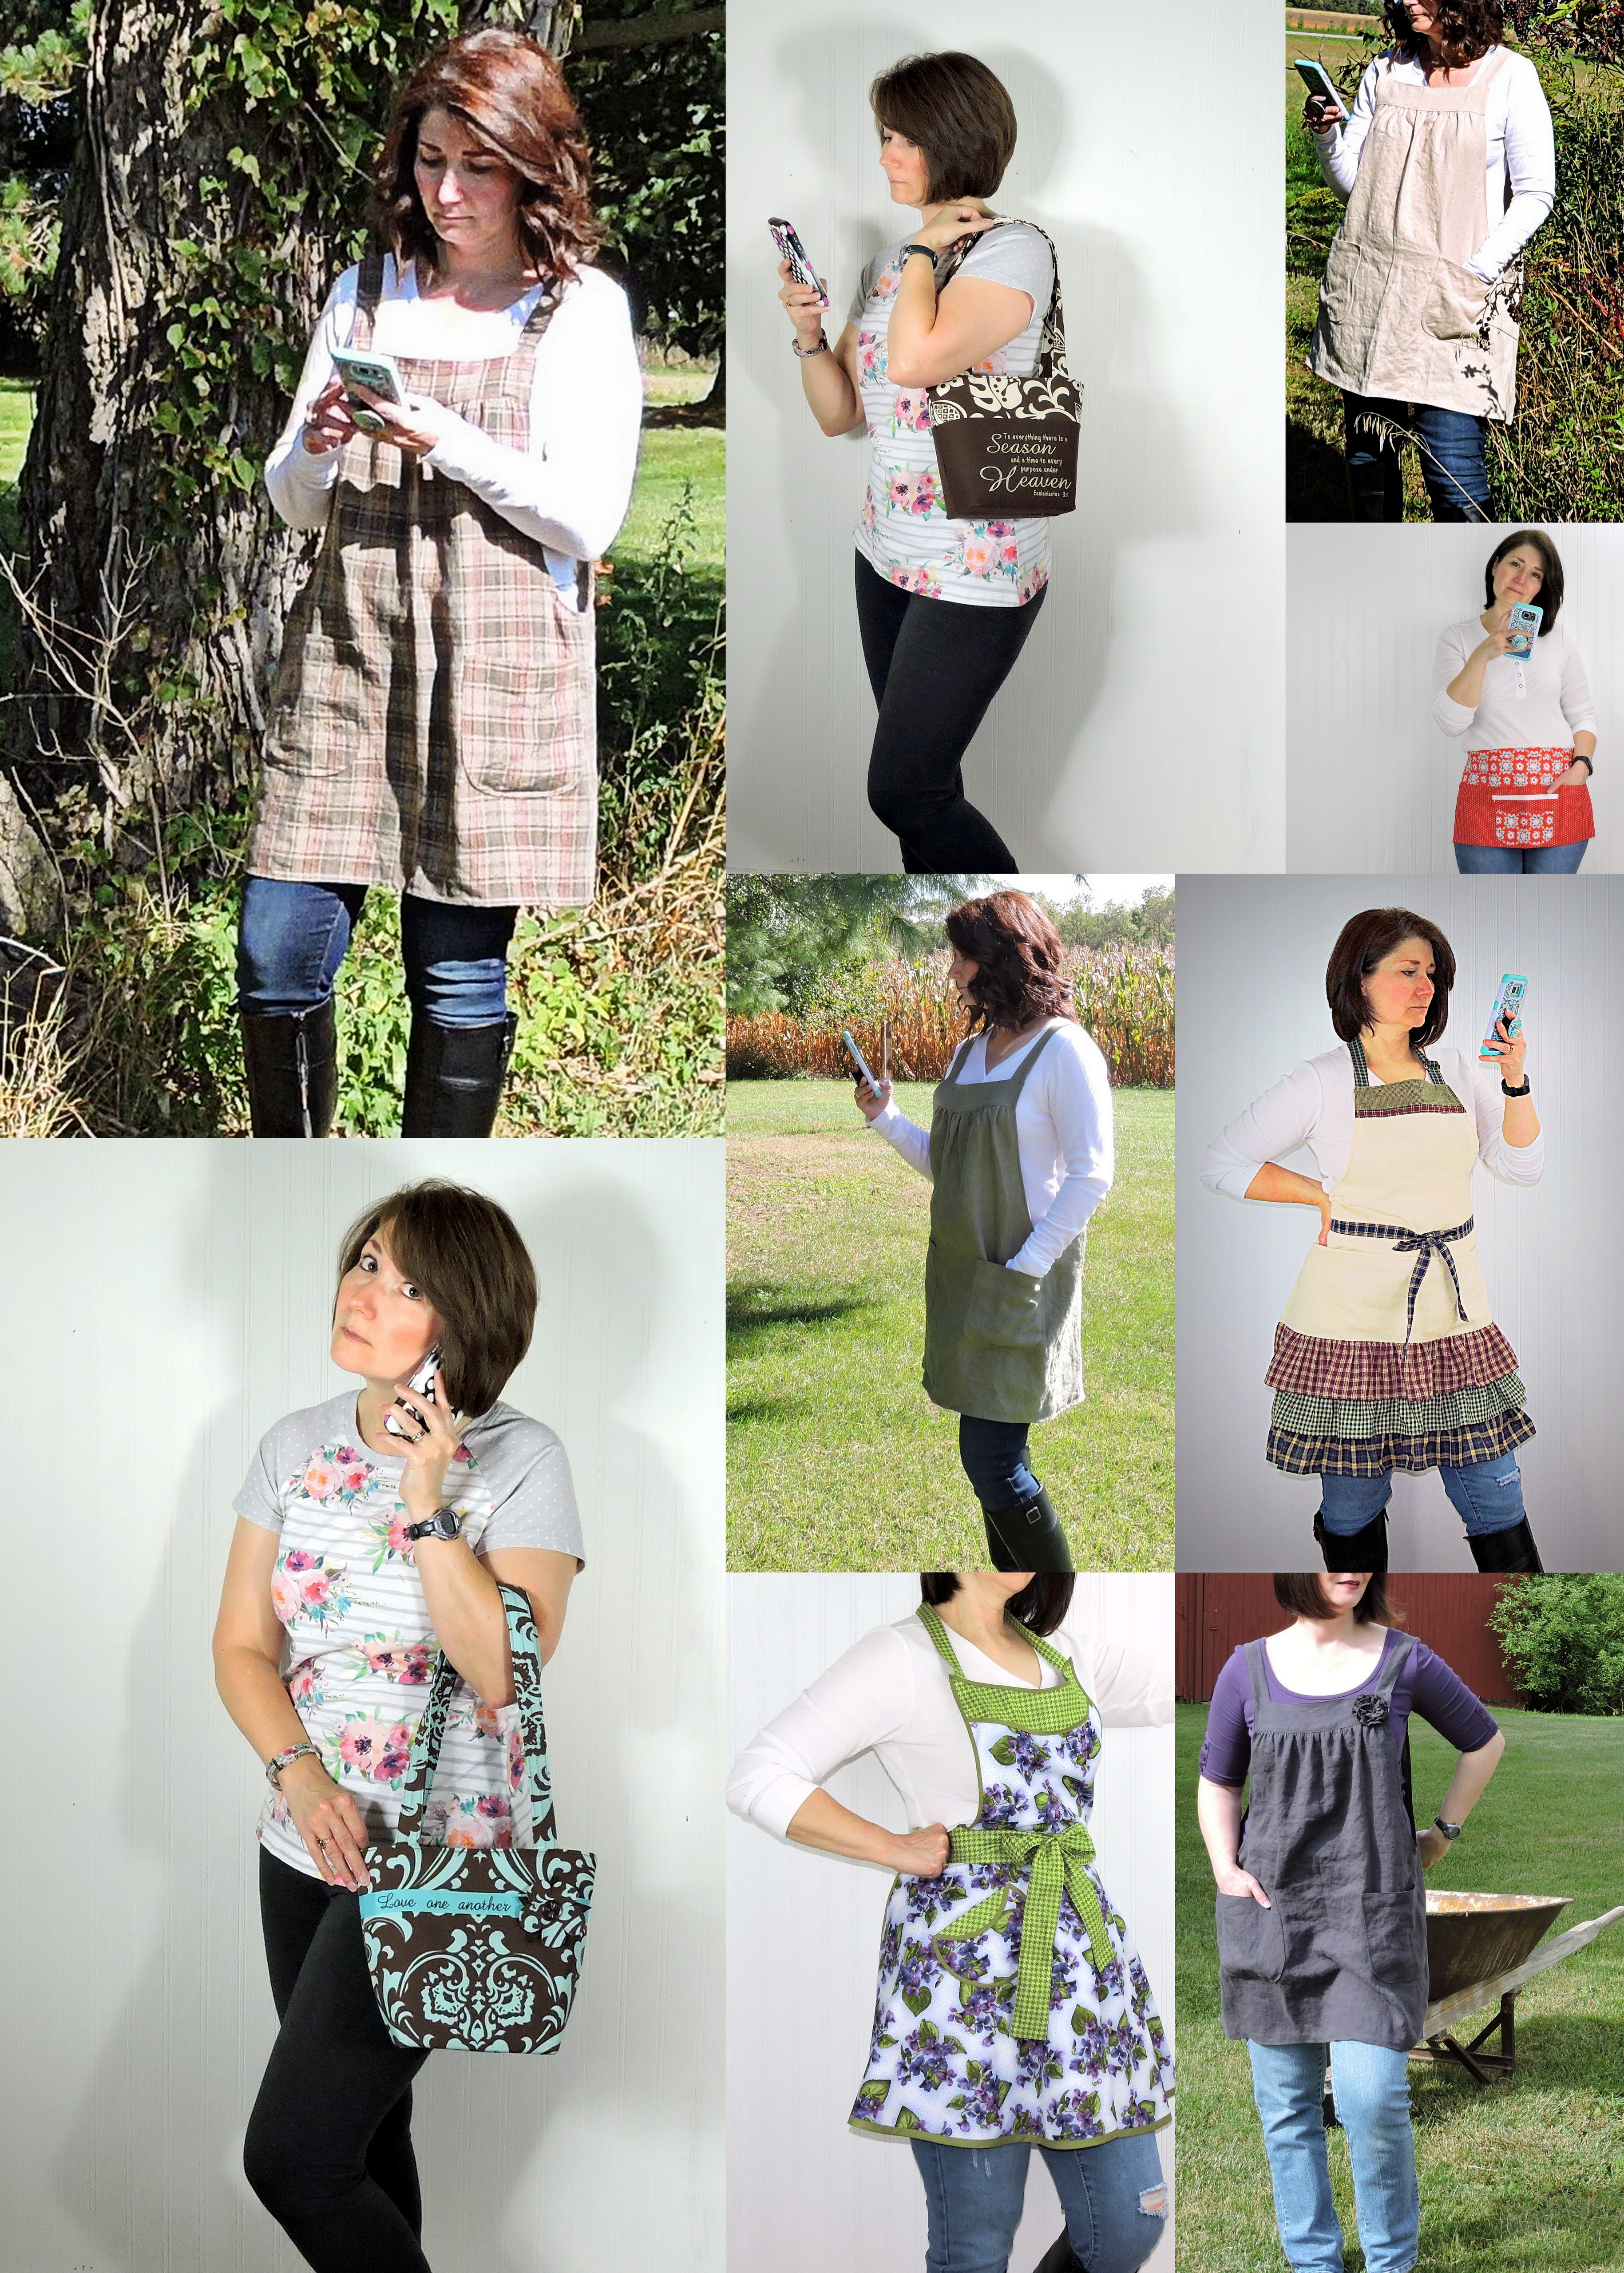
REFINE YOUR TECHNIQUESince my children have flown the nest, I’ve had to get creative with my product photography, resorting to intricate selfies to capture those desired "lifestyle" shots. Since I’m still in search of an easy method, I find myself rarely incorporating this style into my work. In the days when I used my first digital camera along with the lightbox, I could tether the camera to an old-school TV via cables. This setup allowed me to see exactly where I was in the frame and assess the shot before it was taken. I would set the timer, dash into the lightbox, and strike a pose, all while keeping one eye on the TV to ensure I was ready. It was a rather chaotic process. My new camera takes better photos, but it doesn't connect to the "smart TV" in my sewing room in the same way. However, there is an app that comes with this camera, allowing me to see the frame by mirroring the viewfinder on my phone. The image, unfortunately, is teeny tiny. The app also functions as a remote shutter for the camera, which is an improvement over the old timer method since I can take the shot without rushing back into the frame. Unfortunately this means that I either have to include my phone in the photo or hide my hand holding the phone outside the frame, in my pocket, or behind my back. It’s not the ideal solution, but it gets the job done, and I’m making it work! |
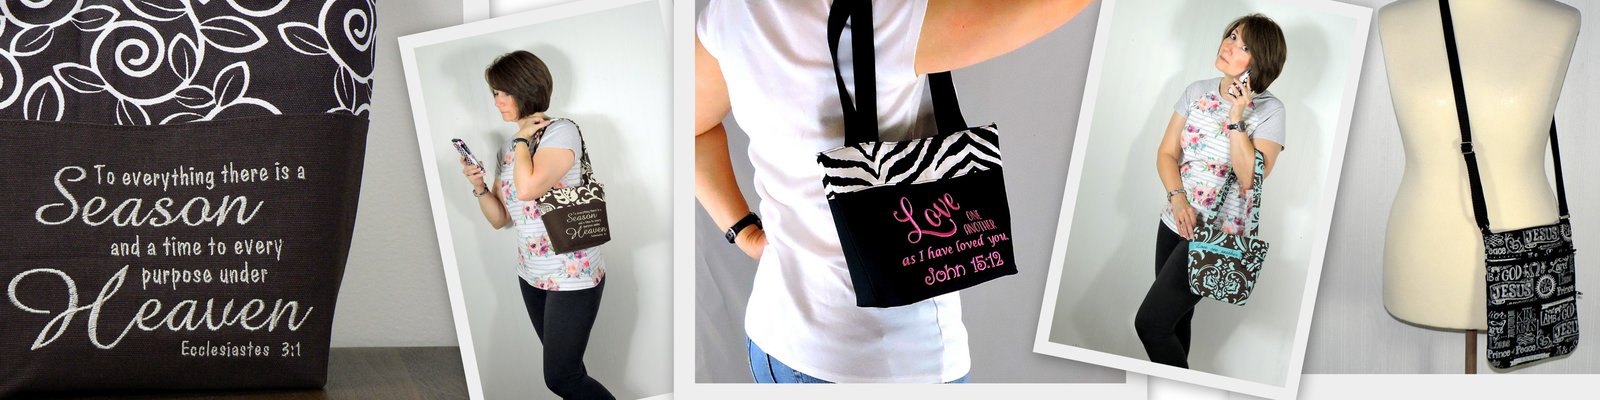
When you’re crafting heirloom aprons by hand, your product photos have to do more than just show the piece. Buyers can’t touch or try on your aprons through a screen. They’re relying on your photos to get a feel for the texture, weight, and detail. Clear, honest, well-lit images help build trust—and that trust turns into sales. Product photos need to capture the care, craftsmanship, and timeless quality you pour into your work. Here’s how to get photos that reflect the heart behind your products.
Simple Photography Styles That Work for Handmade Aprons
- Flat Lay: Lay the apron on a rustic wooden table or clean linen. Shoot from above. It’s simple and lets the design speak. (click here for example)
- On-Body Shots: Ask a friend to model—or do it yourself. Show the apron tied, in use, or paired with tools. Real-world context adds warmth. (example)
- Hanging: A wooden peg, metal hook, or antique hanger can reflect the heirloom vibe. Keep the background clean. (examples)
- Detail Shots: Show the stitching, pockets, fabric weave, or hand-dyed texture. These are what set your aprons apart. (click here for example)
What You’ll Need (You Probably Already Have Most of This)
- Your smartphone or a DSLR camera
- Tripod or stable surface
- Soft, natural light from a window or daylight photography lights
- A clean background—light wall, textured wood, or simple fabric
- Steamer or iron (a must!)
- A basic editing app (Lightroom, Picasa, Snapseed, or your phone’s native tools)
Styling Handmade Aprons
- Steam or iron before every shoot.
- Tie the apron neatly to show the silhouette.
- Use props that fit your aesthetic (wooden utensils, flowers, craft tools), but don’t clutter.
- Show it in a setting that makes sense—kitchen, garden, studio.
Editing for Accuracy and Warmth
- Adjust lighting and exposure to match real life.
- Use warm tones if that suits your brand—but avoid heavy filters! (Save them for Social Media)
- Crop and clean up backgrounds gently.
- Keep the editing subtle. The magic is in the handmade details.
For Your Online Shop
- Always show multiple angles and close-ups
- Keep the photo size consistent
- Let people zoom in to see texture and detail
- Stick to one background style across all product listings
- Make sure images load quickly, even on phones
Avoid These Common Mistakes
- Shooting with uneven or dim lighting
- Shooting in direct sunlight
- Not ironing before photographing
- Using cluttered or inconsistent backgrounds
- Overediting colors so the fabric looks different than in person
- Forgetting to show the back or inside pocket details
Final Thoughts
You make every product with intention. Your photos should reflect that same care. Keep your setup simple, your edits clean, and your storytelling honest. People who value handmade will see the difference—and that’s what turns browsers into loyal customers.